Pelvic Floor-Friendly Yoga: Strength Without Strain
Pelvic floor-friendly yoga builds strength gently. Moreover, it supports balance and confidence. In addition, you move safely without strain and feel energized
HEALTH TIPS
11/22/20256 min read
Your pelvis deserves the same thoughtful training as your shoulders or hips. Thus far, many of us unknowingly load the most delicate structures in the body,hold our breath, and push hard in strong flows,. Therefore This guide from NAZUNA YEO at YOGA COTSWOLD offers a clear, compassionate approach to pelvic floor-friendly yoga so you move with confidence at every life stage,breathe better, and build strength without strain.
Why the pelvic floor matters in yoga
Mainly The pelvic floor is the hammock of ligaments,fascia, and muscles, at the base of the pelvis. Moreover It transversus abdominis, and deep back muscles,together called the deep core,steadies the spine, and works in concert with the diaphragm, supports organs, . Therefore When pressure,posture, and breath, harmonise, you feel light & stable. Anyhow , when you brace, bear down, or push through fatigue, intra-abdominal pressure spikes and symptoms may follow: dragging sensations, leaks on sneezes, heaviness after a run, or lower-back ache. Therefore, we’ll train smarter: breathe first, align second, and strengthen third. Get details on Yoga Teacher in Prestbury.
Breath first: the 360° diaphragm-pelvic floor connection
Apparently you can Start every practice with diaphragmatic breathing:
You can sit tall or Lie on your back with knees bent,.
Place hands around the lower ribs. And then Inhale through the nose and feel the ribs expand 360°,back,sides, and front,
Usually,As you inhale, the pelvic floor naturally lengthens. As you exhale, it recoils and gently lifts.
Whisper “sss” on the exhale to cue the transversus abdominis without clenching your bum or gripping your throat.
Because breath coordinates the whole deep core, you never need to “crunch” your way to stability. Moreover, this rhythm down-regulates nervous tension and sets the tone for pain-free movement.
Alignment that protects, not polices
Think of alignment as friendly coaching rather than rigid rules.
Ribs over pelvis. Stack softly so the diaphragm sits over the pelvic floor.
Neutral-ish spine. A tiny lumbar curve helps the transversus abdominis and pelvic tissues share load.
Hips free. If your pelvis can tilt and glide, your pelvic floor won’t do the whole job alone.
Feet awake. Tripod the feet (heel, big toe, little toe) to share force up the chain.
These cues reduce pressure, improve hip mobility, and keep you responsive instead of braced. Looking for a Yoga Teacher in Stow-on-the-Wold?
Red flags and green lights
Green lights: the ability to speak in full sentences while you move,no pelvic heaviness,no bulging at the abdomen,, and steady breath,
Red flags: breath-holding,pain,pressure,,dragging, or,leaking,. If they appear, down-train (softer version), shorten the hold, or rest in child’s pose. And if symptoms persist, consult a pelvic health physio alongside your practice.
The Pelvic Floor-Friendly Sequence (((20–25 minutes)))
Move with slow, smooth breaths. Use a strap and two sturdy books if you don’t own blocks.
1) Reset & down-train (3 minutes)
Crocodile breath (prone): forehead down,hands stacked,. exhale long & Inhale into the back ribs;.
Supine 90/90 breath: palms on ribs,calves on a chair,. Inhale wide, exhale with a soft pelvic lift—think elevator from ground floor to “first floor”, not the penthouse.
2) Mobilise hips & thorax (4 minutes)
Cat–cow with tiny pelvic tilts: inhale tail back, exhale tail under—slow, whisper-quiet.
Thread-the-needle: free the upper back so you twist from ribs, not the lumbar spine.
3) Build gentle strength (8–10 minutes)
Bridge (exhale on effort): exhale to lower,inhale at the top,pause,exhale to rise,inhale to prepare,feet hip-width, . Besides this Add a light inner-thigh squeeze with a folded towel if it feels supportive.
Side-lying leg series: small hip abductions & clamshells. Keep ribs stacked and pelvis quiet to invite glute strength without gripping.
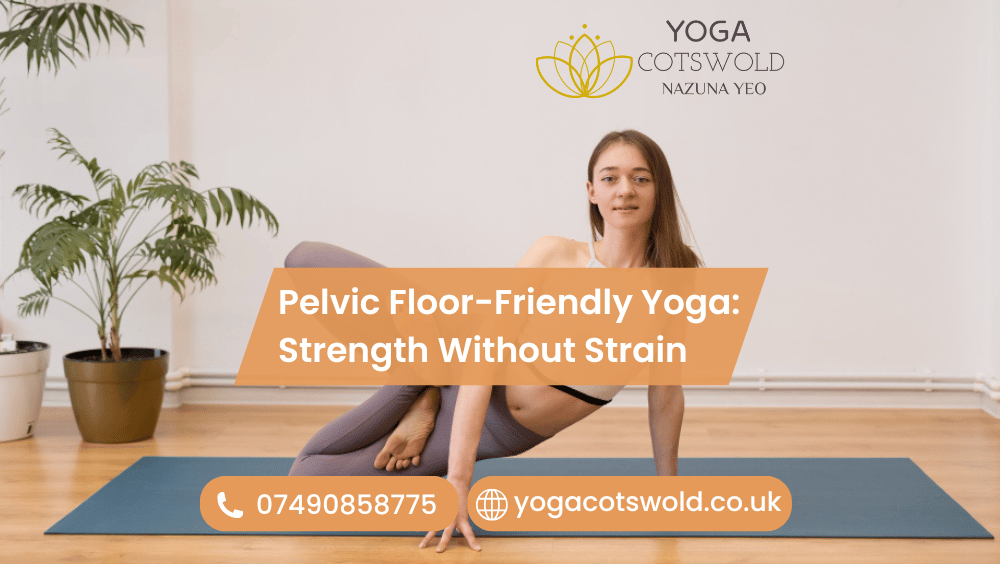
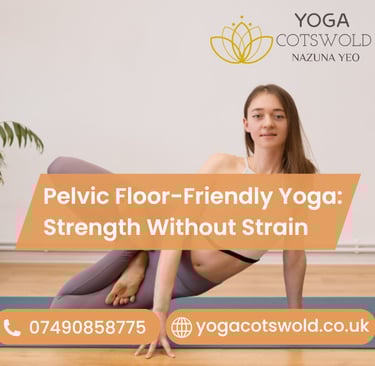
All-fours hover (((optional))): you can inhale, then exhale to float knees 2–3 cm. You can Hold for two calm breaths; also you can lower on the exhale. Finally you can Skip if symptoms appear.
4) Stability with rotation (3–4 minutes)
Dead bug (slow): inhale, exhale to slide heel away and reach opposite arm. Keep lower ribs heavy, jaw soft.
Half-kneeling press (with light band): anti-rotation control teaches the trunk to share load, not dump into the pelvis.
5) Lengthen & restore (4–5 minutes)
Happy baby or figure-four (choose the friendlier option).
Supported butterfly: soles together, blocks under thighs.
Legs up the wall (1–2 minutes) to finish with long, effortless exhales. Get details on Yoga Teacher in Northleach.
Exercise swaps for common poses
Swap deep chair pose for a wall sit with a soft belly and exhale on effort.
Swap jump backs for step backs, or use incline plank on a counter to reduce intra-abdominal pressure.
Swap long holds in boat pose for seated knee lifts with a whisper “sss” exhale.
Swap aggressive twists for gentle rib rotations in side-lying or half-kneeling.
These choices maintain challenge while guarding tissues that need time and tact.
Hypertonic vs hypotonic: know your starting point
Not every pelvic floor needs “more”. A hypertonic pelvic floor feels grippy and reluctant to release, often causing urgency, pain with long holds, or difficulty starting a wee. Here, prioritise down-training and length before any “lifting”. Conversely, if you feel laxity or experience stress incontinence, you’ll still start with breath and alignment, then build gentle strength with glutes, adductors, and transversus abdominis. In both cases, heavy bracing and breath-holding backfire; calm rhythm wins. Looking for a Yoga Teacher in Moreton-in-Marsh?
Life stages: perimenopause, postpartum & beyond
Postpartum recovery: You can start with side-lying work,pelvic tilts, and breath,. Besides this Add bridge and light carries only when doming,heaviness, and leaks, settle. Subsequently rest generously Progress gradually;.
Peri- and post-menopause: Apparently Oestrogen shifts may affect tissue quality. Because of which ,sufficient hydration, protein-rich meals, and. strength with walks, & pair mobility. Consequently Keep technique sharp & impact gentle .
High-impact hobbies: Runners and lifters can still train. Coordinate breath with effort, keep stacking (ribs over pelvis), and add single-leg strength to buffer landings.
Weekly template (realistic and sustainable)
Monday: start the week with 20-minute sequence above.
Wednesday: side-lying strength + 15-minute mobility (abductions,clams,).
Friday: you can do 20-minute sequence with the hover if symptom-free.
Weekend: 10-minute restorative exercise like, crocodile breath,supported butterfly,legs up the wall, help
You’ll gain strength quickly and keep tissues calm because you never outpace recovery. Get details on Yoga Teacher in Andoversford.
Technique cues you’ll hear from NAZUNA YEO
“Exhale on effort—let the breath lift you.”
“Soften the belly first, then gather lightly from deep inside.”
“Pelvis like a bowl of water—tip it a little, don’t slosh it everywhere.”
“Glutes strong, jaw soft.”
“If you can’t chat, it’s too much pressure today.”
Simple lines, big results.
Related Articles:
» Yoga in Managing PCOS and Hormonal Imbalance
» Yoga for Chronic Pain and Inflammation
» Yoga for Chronic Pain Management: Move with Ease, Live with Comfort
» Yoga for Chronic Pain Relief: A Natural Way to Manage Discomfort
» Can Yoga Help Manage Chronic Pain?
Common mistakes to avoid
Breath-holding. It spikes pressure. Whisper the “sss” and keep exhale longer.
Global clenching. Squeezing bum, abs, and throat together creates tension, not strength.
Chasing depth. Deep backbends and long boat holds often encourage bearing down. Choose range with control.
Skipping feet and hips. Strong glutes and mobile hips protect the pelvic floor more than endless squeezes.
Final word from NAZUNA YEO
To sun up,Strength usually does not require strain. With steady progress,kind alignment, and breath-led movement, pelvic floor-friendly yoga builds resilience you can trust on a brisk walk across the Cotswolds,at your desk, and on the mat. Therefore If you’d like tailored guidance, join me at YOGA COTSWOLD; we’ll help you feel strong from the inside out,protect your energy, and refine technique.
FAQs — Pelvic Floor-Friendly Yoga: Strength Without Strain
1) Should I do Kegels in every session?
Not automatically. Some people present with a hypertonic pelvic floor that already struggles to relax. Start with diaphragmatic breathing, gentle down-training, and coordinated “exhale on effort”. If a clinician advises targeted lifts, we’ll integrate them subtly, never forcefully.
2) I leak when I sneeze or laugh. Will this help?
Very likely. Breath-led core work, better alignment, and steady glute strength reduce pressure spikes. Over time, you’ll share load across the deep core rather than dumping it downward. If leakage persists, add a pelvic health physio to your team.
3) Which poses should I avoid with a prolapse?
Avoid long breath-holds, heavy abdominal bracing, deep boat pose, and strong jump backs—especially on symptomatic days. Choose step backs, incline planks, shorter holds, and the sequence above for a prolapse-aware practice.
4) Is this safe after birth?
Yes—with timing and guidance. Begin with breath and gentle mobility, then add bridge and side-lying strength once you feel supported and symptom-free. If you had a tear or surgery, wait for medical clearance and progress gradually.
5) Can I still lift weights or run?
Absolutely. Use the same rules: exhale on effort, stack ribs over pelvis, and build single-leg stability. Add this sequence on non-impact days to restore balance.
Contact
info@yogacotswold.co.uk
Social Media
Get in Touch
07490858775


Address: GEORGE MOORE COMMUNITY CENTRE- BOURTON ON THE WATER
Moore Road, Bourton on the Water GL54 2AZ